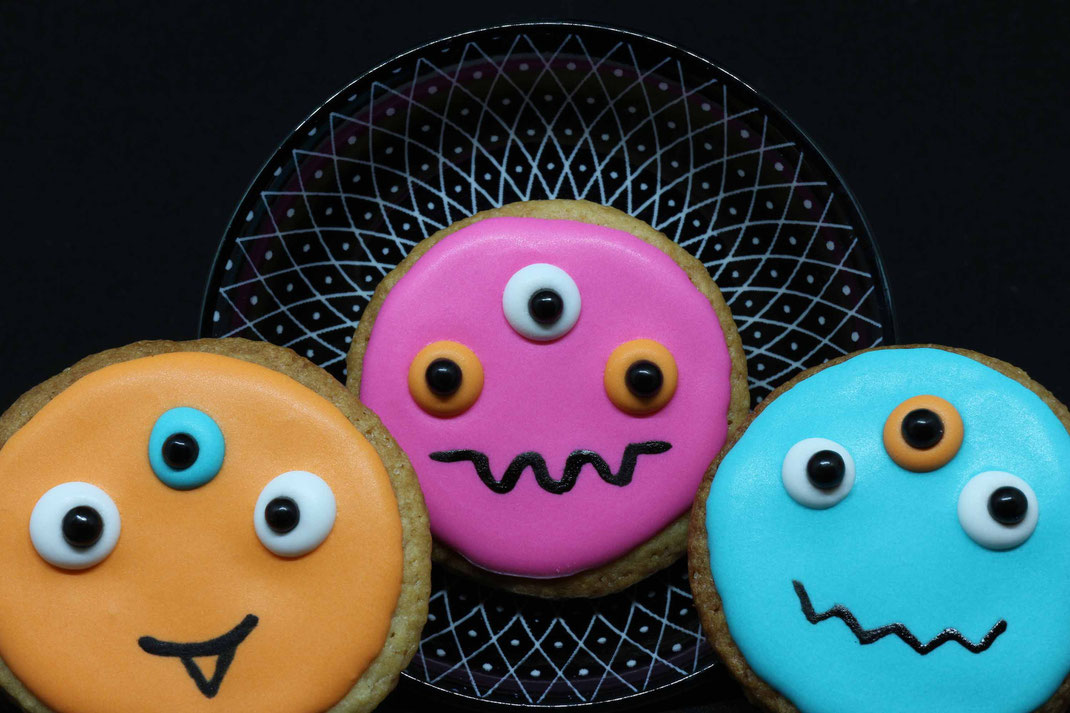
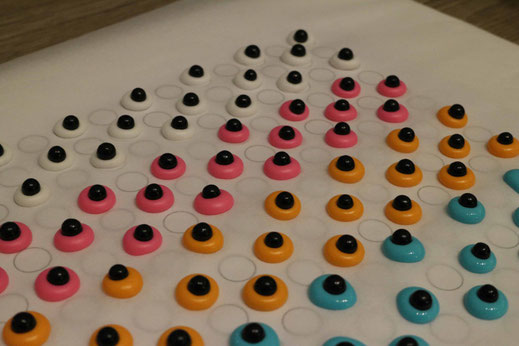
Today we are going to bake this funny monster cookies. You need to start 2-3 days before you need them because the cute monster eyes need to be done first and at least dry for 24h. I used the same colours for the bodies and the eyes but if you are just going for white eyes you can also do them in advance and store them in a dry place like a plastic box. If you don't want to have that much effort you can also buy sugar eyes* and use them.
First prepare the royal icing with 3 tablespoons meringue powder* on 500g powder sugar, a little vanilla extract and about 100ml water. The amount of water needs to be adjusted when the icing is mixed and dyed to have the perfect consistency. Mix first the dry ingrediences with your standmixer and a whisk attachement and then add step by step the water till it has a consistency which is not running of your cookies and is still giving you a flat surface after flooding the cookie. You can test this with a spoon by scooping some out of the bowl and let it run back in to watch if it blends back together smoothly. I suggest preare all the icing together and then seperate it into batches to dye with different colours (gel food colours* are totally fine). Keep it first on the stiffer side because you can always add more water afterwards. The best way for this is to fill water into a little spray bottle. With this method you can add very little amount of water and don't have to fear to make it to runny. After getting a good consistency you fill the icing into squeezer bottles* or a piping bag* with a tip 2* attached.
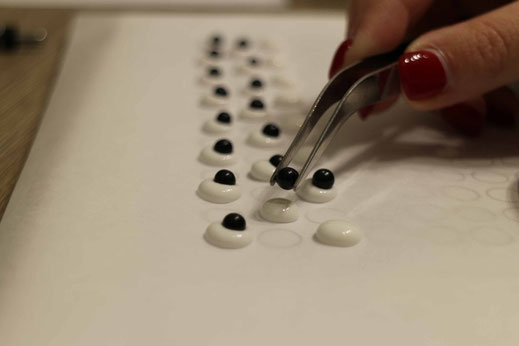
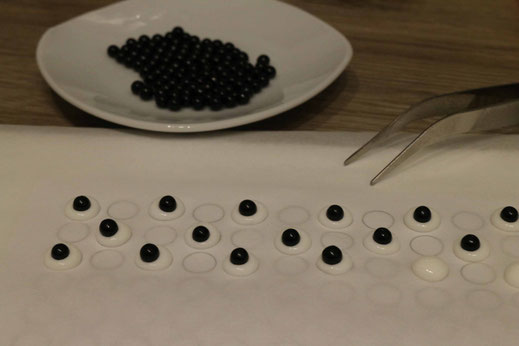
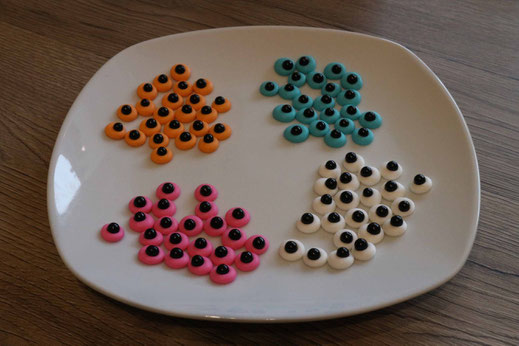
I used a template printed out on paper (you can just use O of the size 4-5mm) and prepared a piece of styrofoam with the template and a piece of sandwich paper on top (taped down the paper to the bottom of the styrofoam). You can also use a cutting board or anything with a flot surface which fits into you oven. Now you can start to pipe the icing onto the baking paper. After every 10-15 eyes I have piped a added black sugar pearls* for the pupils (best you have tweezers* to place them on the eyes). After piping all the eyes in the different colours place the tray into your baking oven with convection setting (no temperature) to have your eyes dry complete, quick and with a shiny finish.
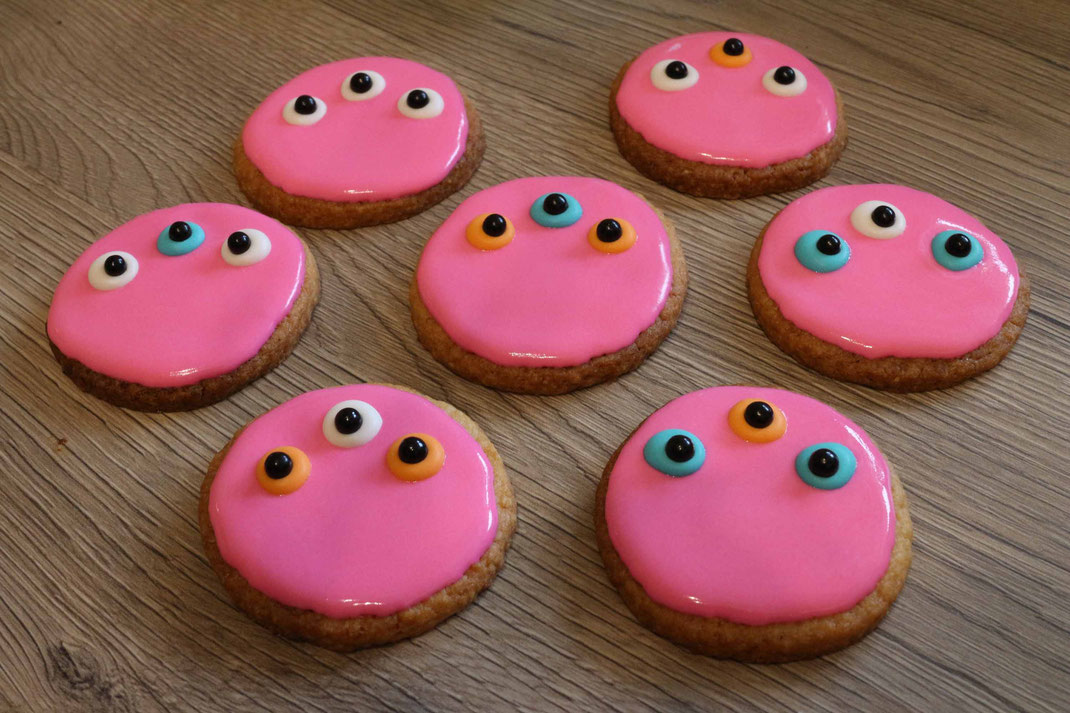
Now you can prepare the cookies. I used this recipe and a round shaped cookie cutter. You can store the royal icing in an airtight container for some days. Maybe you need adjuste the consistency again because the icing gets thicker as longer you store it. After your cookies are cooled completely and your eyes are completely dry you can start with icing the cookies. After the cookies are flooded completely you add 3 eyes to them (again tweezers* are a good tool for that).
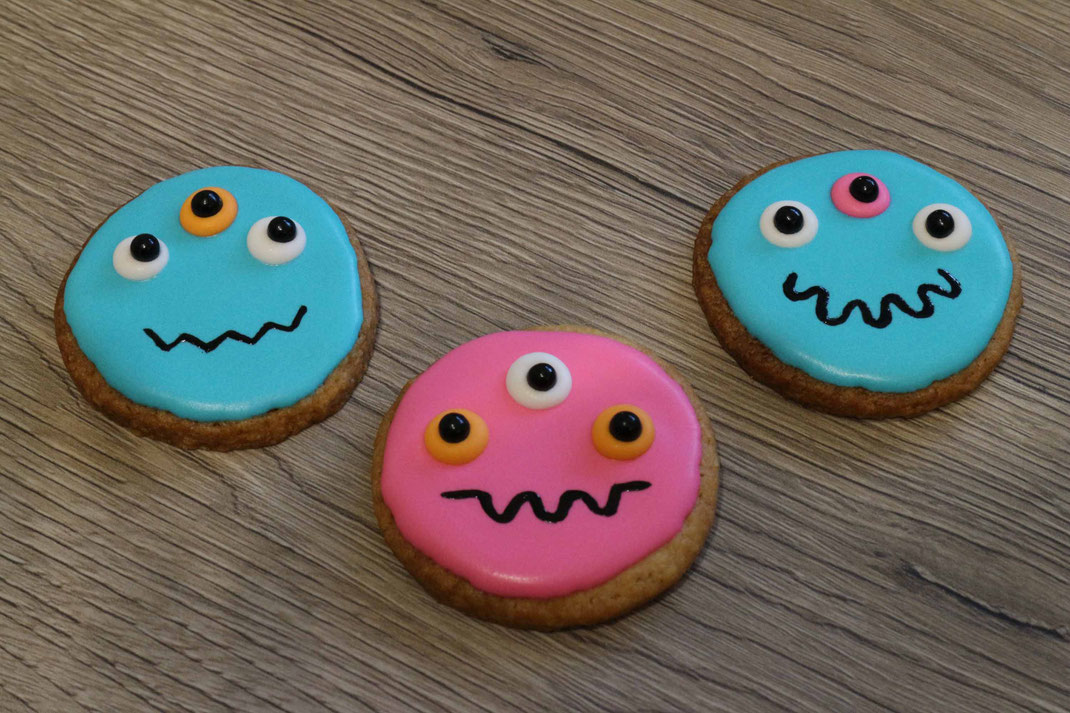
Now the cookies need to dry again. I suggest you place every single cookie after it is iced in the baking oven with the already mentioned convection setting and no temperature. This way they get the shiniest finish and you are sure they dry completely. The last step is to draw on the dryed cookies the monster mouth. I used black decorting icing* which I brushed on with a slim little brush. After this is dry again your monster cookies are finished.
If you like the monsters and have left over eyes you can use them for lizard cookies.
Affiliate links/advertising links/advertisements:
The links marked with an asterisk (*) are so-called affiliate links. If you click on such an affiliate link and purchase via this link, I will receive a commission from the respective online
shop. For you, the price does not change and I only recommend items that I have used myself and found to be good. As an Amazon Associate I earn from qualifying purchases.
Write a comment