
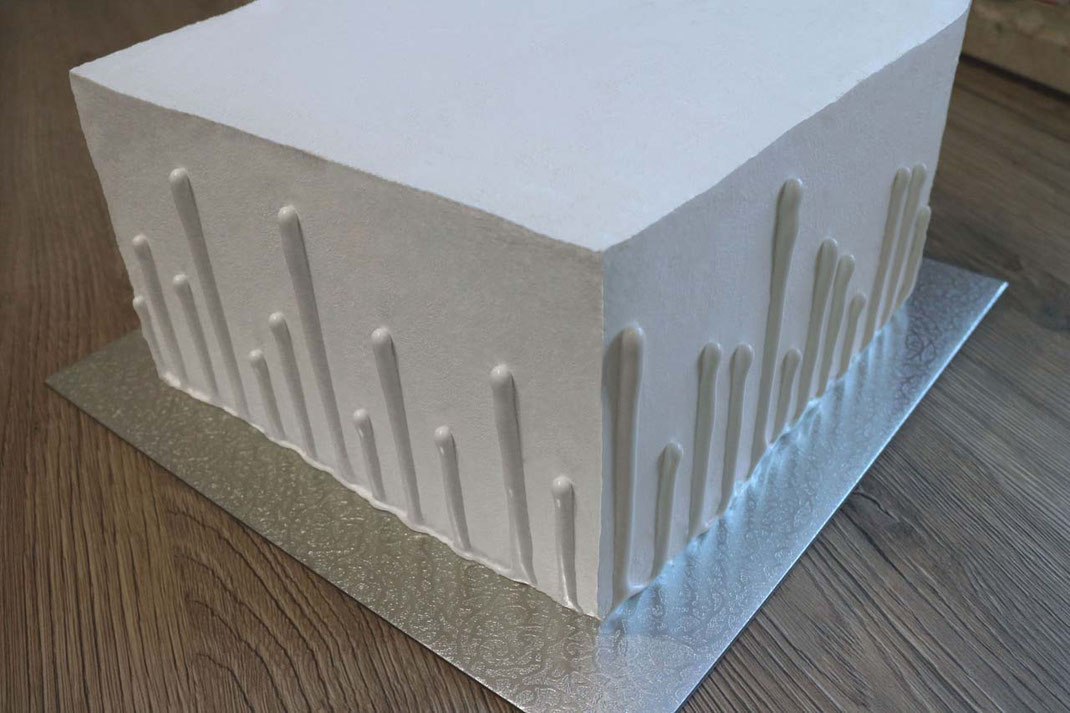
After I saw some cakes with this cool technique, I just had to try it on a cake and have put together this tutorial for you. Actually it works the same way as a normal drip cake, only you do the drip on the twisted cake. If you use the upside-down method, this is ideal, as the cake is in the right position anyway.
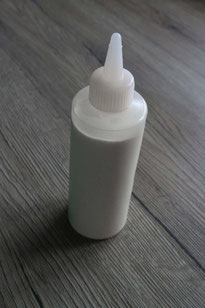
I have prepared a white chocolate drip for this tutorial, but you can also use dark or milk chocolate. The advantage of the white chocolate* is you can color it with food coloring*. You start by preparing a chocolate ganache with 3:1 chocolate and cream and cool it down to 50°C if your cake is well chilled (a bit colder if your cake is not chilled). To make the ganache even whiter, you can add a few drops of white food coloring*. Pour the drip into a squeezer bottle* and test it on an upside-down porcelain cup.
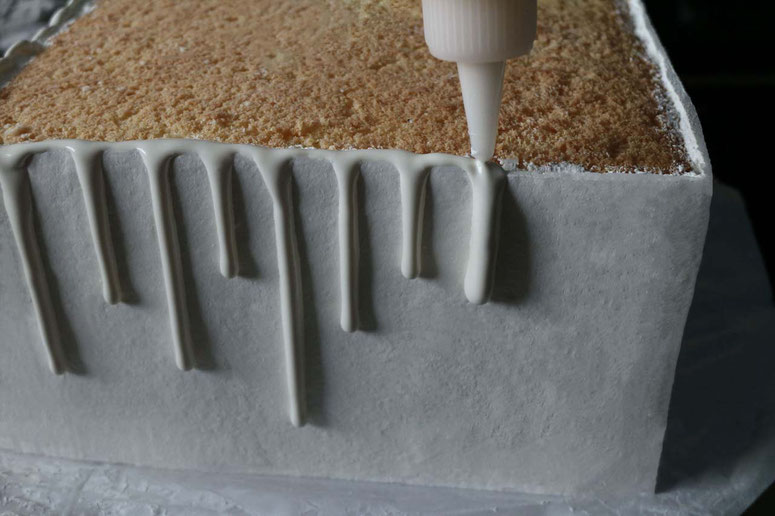
The chocolate should stop on the vertical surface and not run to the bottom. Now you can start decorating your cake. Place a drop of ganache on the very edge of the cake and let the drop run down. Walk along the edge of the cake in half cm steps and vary the length of the drops, by squeezing less or more ganache on the cake.
After the complete cake is decorated with drips, chill it for 1-2h (or freeze it for 1/2h) till the drip is dried completely. Now you can turn the cake and decorate it further.
Affiliate links/advertising links/advertisements:
The links marked with an asterisk (*) are so-called affiliate links. If you click on such an affiliate link and purchase via this link, I will receive a commission from the respective online
shop. For you, the price does not change and I only recommend items that I have used myself and found to be good. As an Amazon Associate I earn from qualifying purchases.
Write a comment