Hi everybody, I'm back and with me are this super cute piglets. I have to confess this cake was not my idea but by browsing through the endless resources of the world wide web I came over this kind of cake and thought I have to give it a try myself to be able to explain to you how to do it. So let's get started.
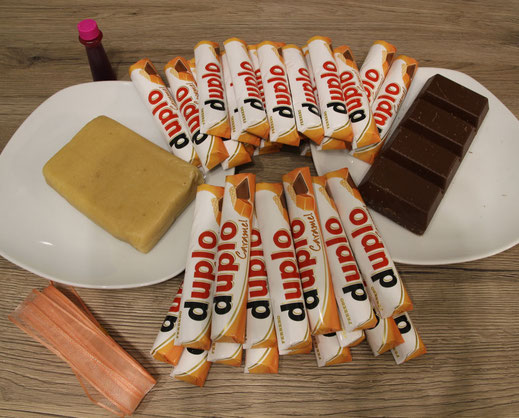
First you have to stock up your pantry with a big amount of chocolate bars. There are different kinds you can use. I tried as well flat as also this semicircle shape and both look good in its own way. You need them for creating the tray look on the cake. For the mud, you just use whole milk chocolate and the piglets itself are out of marzipan which you dye with pink food color*. A bow is needed to keep the cake together in the beginning, but you will see this later in the description.
Before you shape the piglets, you start with baking a cake. In this case a chocolate sponge
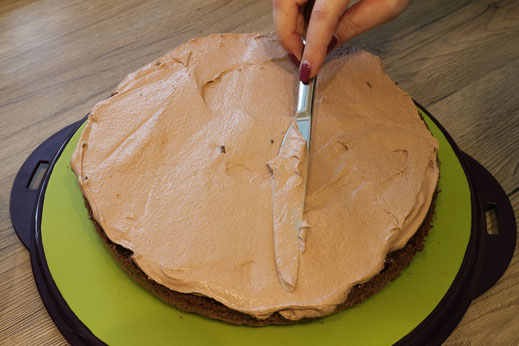
cake made sense. After baking and chilling the cake you cut it into two layers and fill it with chocolate frosting. You can use every kind of frosting you like, but you need the
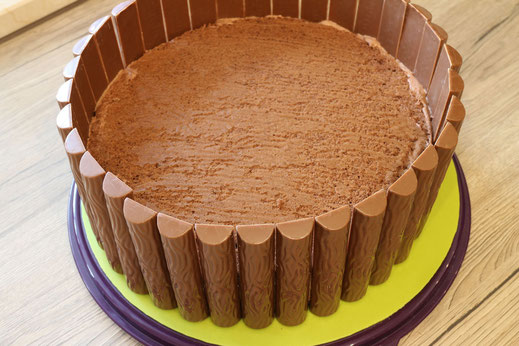
frosting as well to "glue" the chocolate bars around your cake, so the chocolate frosting made sense to not stick out too much. After you filled the cake you cover the outside with frosting as
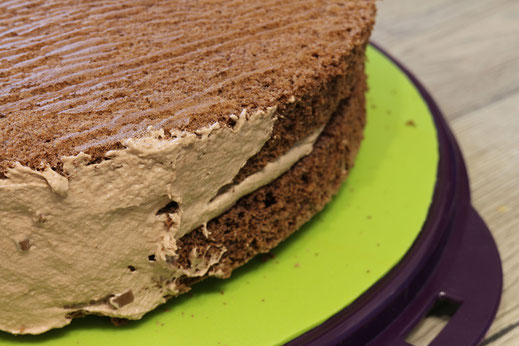
well, but not the top! Now it's time to place the chocolate bars around the cake. Do this one by one all around and try to keep them as close together as possible. Maybe you need to adjust them
in the end to fit the last bar into the circle. To keep everything together for now tie the bow around the cake.


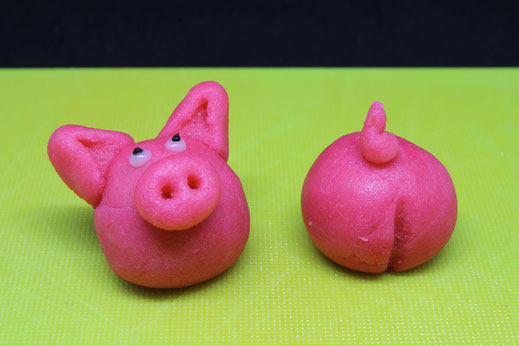
Now it's time for the piglets. Don't be afraid, they look more difficult than they are. You just need a little marzipan (200g) and pink food color. Mix it together till you have a smooth pink shade. When the marzipan dries it will look a little darker than in the beginning.

Divide the marzipan into 3 equal parts. These 3 parts will end up in 3 piglets :-) For every piglet you need some material for the small parts like noses and ears, so you cut of about a quarter
for this things. Out of the bigger parts you will form the head and body.

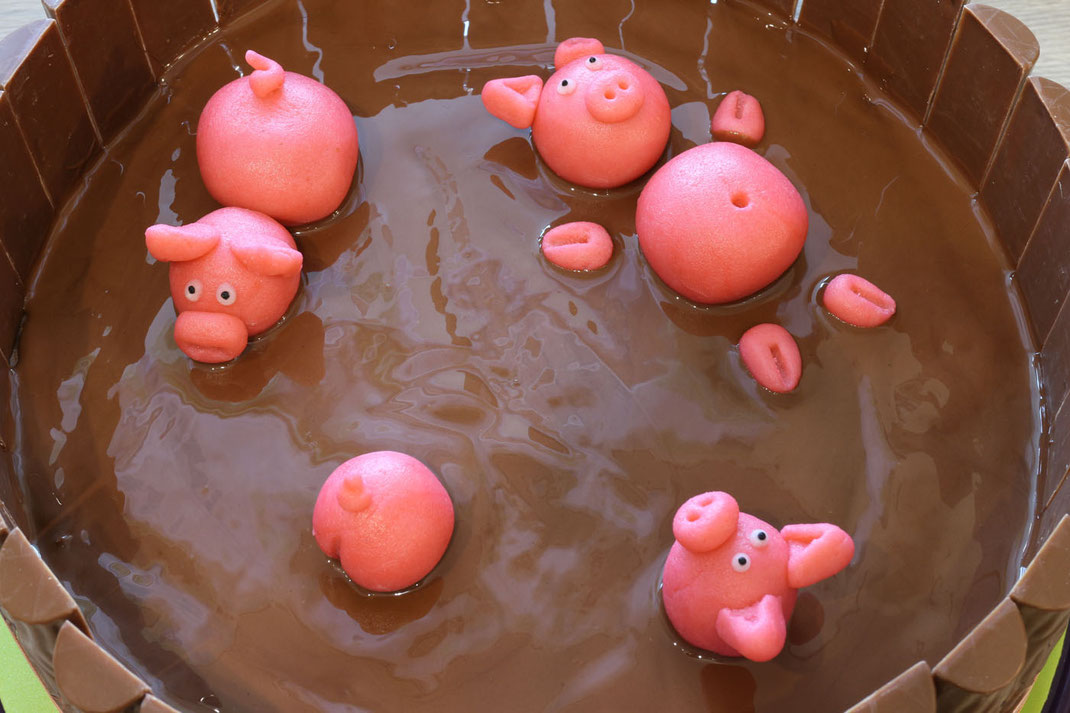
The first piglet is actually not one but two. You form a head and a butt, so one of this little piglets will dive into your mud cake. The eyes I did out of some already prepared icing in white
and black.
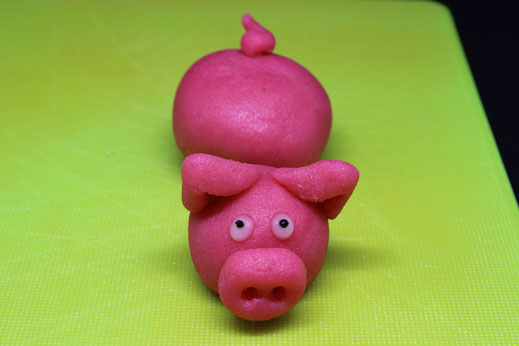
The next piglet will be swimming around in the mud puddle. You don't have to connect the head and the body, just place them next to each other on the cake later on.
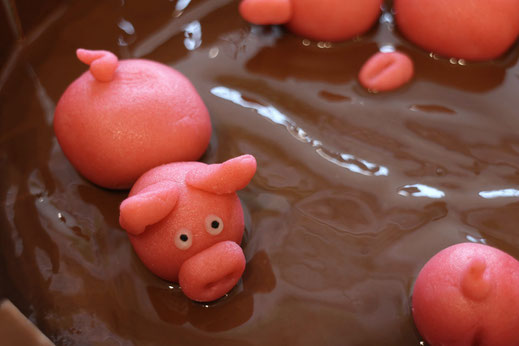
The last piglet is floating on its back on the cake. The ears should be placed on the head later on, but the feet of the piglet can just be placed next to it in the mud.

After preparing all the piglets you melt the milk chocolate over hot water and float the cake with a thin layer of chocolate. Before it starts drying you need to place the piglets into the chocolate.
Now it's time to have a look on the funniest cake you have ever baked :-)


Affiliate links/advertising links/advertisements:
The links marked with an asterisk (*) are so-called affiliate links. If you click on such an affiliate link and purchase via this link, I will receive a commission from the respective online
shop. For you, the price does not change and I only recommend items that I have used myself and found to be good. As an Amazon Associate I earn from qualifying purchases.
Write a comment
Barbara (Monday, 06 March 2017 16:28)
Love the little piglets! Such a fun cake!