
Since a long time I wanted to show you how to ganache a cake with a sharp edge on top. The cakes you see online are so beautiful but it takes quite some work and ingrediencies, so it took me a while to bake this cake and write the tutorial for you. Strawberry season is coming to an end but you can use a lot of other fruits all year round.
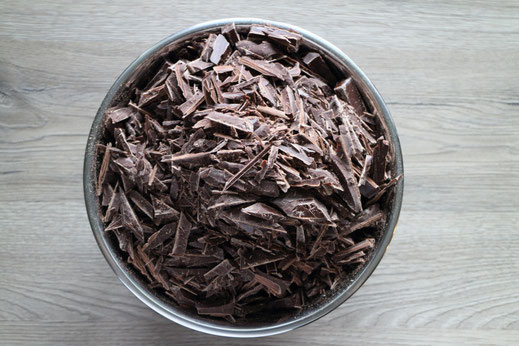
First you make the dark chocolate* ganache which you can already prepare a day in advance and heat up the next day in the microwave. I used 1,2kg dark chocolate and 400g cream which is a ratio of 3:1. You can also go for 2:1 with dark chocolate but it was a warm day and I wanted it to settle completely for the sharp edge. Heat the cream on low heat, add the chocolate and wait until it melted. If it does not melt completely, heat the mixture further until it is homogeneous but do not overheat. Now the ganache has to cool down until it has a creamy consistency that will stick to your cake but also spreads well. It often let it cool overnight and heat it in the microwave when I need it (200W for 20s, whisk and repeat this process until the right consistency is reached). If the ganache has separated, beat it with a hand blender* until it is homogeneous again.

Befor you use the ganache for sure you need to bake the cake layers. You can use my chocolate sponge cake recipe. For getting the sharp edge you will use a cake board* so the best is to adjust the size of the layers already to the board. I used an adjustable cake ring mold* which is perfect for this technique.
After the cake cooled down, you can cut it out of the cake ring and slice it in layers. Please check now the size with the cake board. It should be about half a cm larger on both sides of the cake. If it's not, cut away some cake before you start filling and ganaching.
1. You will use the upside down method to create your sharp edge on the cake. For this you need a flat surface e.g. a round acrylic cake disc* or any other flat cake plate without handle. Put this onto a turntable and parchment paper on top. To not have the plate moving around while you ganache the cake I put a piece of sticky mat* between the turntable* and the cake plate. Now put a big batch of ganache onto the parchment paper. Spread it out about 3-5mm thick a little bit larger than the cake. Now you can start stacking and filling the cake.

2. After all layers are stacked you don't put ganache on top because that will be later on the bottom of the cake. Scrap the ganache around the cake away as good as possible and put a first layer of ganache around the cake as crumb coat. Now it's time to put your cake board on top of the cake. I normally use a little splash of ganache to "glue it on". The cake board should now stick out slightly (about half of a cm) on each side of the cake. Use a little bubble level* to make sure the cake board is straight. Now you put the cake for about 10 minutes into your freezer to settle the crumb coat completely.
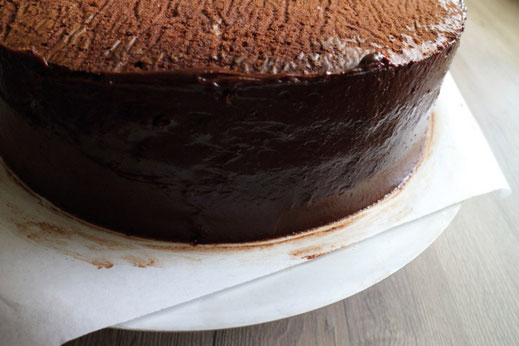
3. Take the cake out of the freezer and put the final finish of ganache on it. You might need to heat up the ganache again in the microwave if it already cooled down too much. Put the ganache on the side walls of the cake and use a cake scraper* with a 90° edge to take off excess ganache till you get a complete flat surface. Make sure you hold the scraper completely straight. Lean the bottom on the cake plate and the top on the cake board. If it does not work out the first time you can always put again some ganache on and take it off again with the scraper. After you got the desired finish you freeze the cake again for 10min.
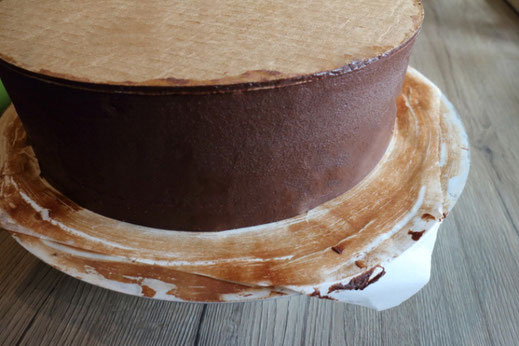
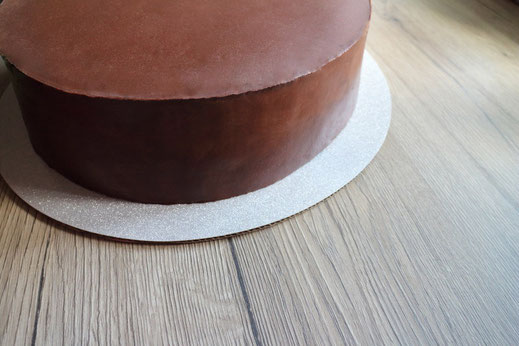
4. Use a sharp knife to take of the cake board. Better to use 4. Use a sharp knife to take off the cake board. As next step you put a decorative cake board or the final cake plate on top of the cake and check again with the bubble level if it sits straight. Now it's time to flip the cake. Put one hand on the cake and the other below the bottom plate and flip the cake around. As last step you take off the cake plate and carefully peal of the parchment paper to have a cake with sharp edge.
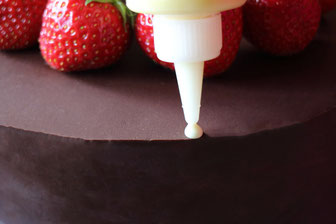

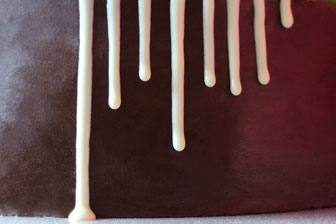
Last step is to place the strawberries on the cake. I did it actually the other way around, placed the strawberries first and intended to flood the areas below but realized it's easier to just add them in the end. Thats how you make a strawberry drip cake.

Affiliate links/advertising links/advertisements:
The links marked with an asterisk (*) are so-called affiliate links. If you click on such an affiliate link and purchase via this link, I will receive a commission from the respective online
shop. For you, the price does not change and I only recommend items that I have used myself and found to be good. As an Amazon Associate I earn from qualifying purchases.
Write a comment
Andreea Pîrjolea (Saturday, 30 June 2018 23:18)
You're taking this passion to a hole new level, making it 100% professional. Congratulations!
thebakingjourney (Wednesday, 04 July 2018 12:47)
Thank you Andreea!
That’s so sweet of you to say.