I'm so glad you joined me on this tutorial for fondant pattern because it's the greatest technic I discovered for a very long time. Serdar Yener is such an excellent confectioner. I never thought that such great things can be done with fondant, but try out for yourself and see.
You need the following ingredients and tools:
- fondant* either already colored or white and food colors* (purple, yellow and black)
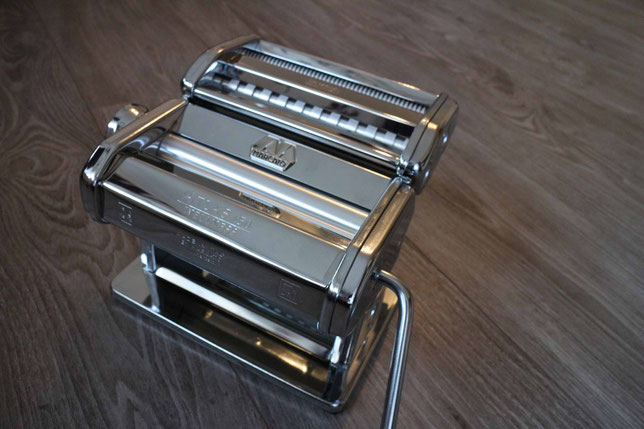
- a pasta machine* to blend the fondant (you can also roll it out by hand but with the machine it's easier)
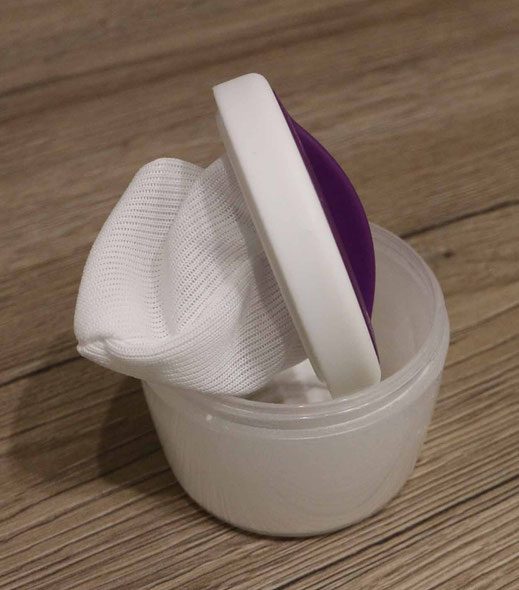
- starch to separate to keep the fondant from sticking to the pasta machine
- a clay blade*
- some foil
- a rolling pin*
This is my brand new pasta machine*, which is not just good to use it for pasta :-). Also for this fondant pattern technic it's a very helpful tool. This little dust pouch* I love because it makes it so easy to distribute the starch in a thin layer on the fondant or machine.
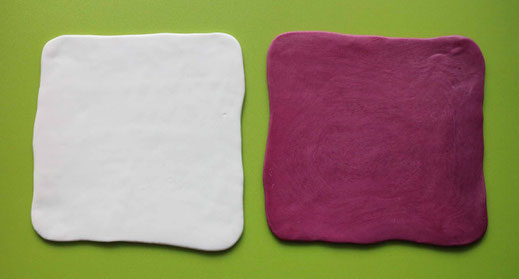
As base for the cake you prepare a cake with white ganache and sharp edge. Now you can start with the fondant pattern. Make sure to always wrap your fondant in between steps or if not used in foil to not dry out. First you are going to prepare the blended fondant for flower petals. You use the same amount of purple and white fondant for this.
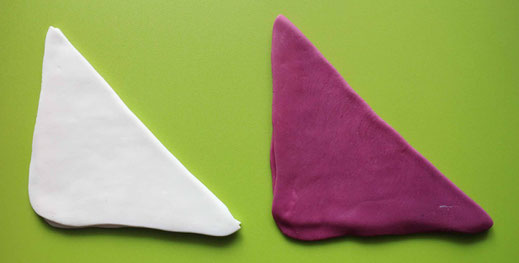
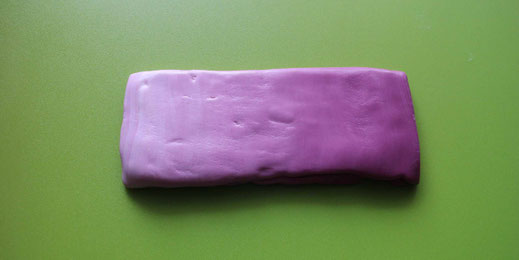
1. Prepare two rectangular shapes of fondant by feeding about 50-100g of fondant through your pasta machine on the thickest setting. After the fondant is flattened out you can bring it into the rectangular shape with your hands.
2. Fold the rectangles to triangles.
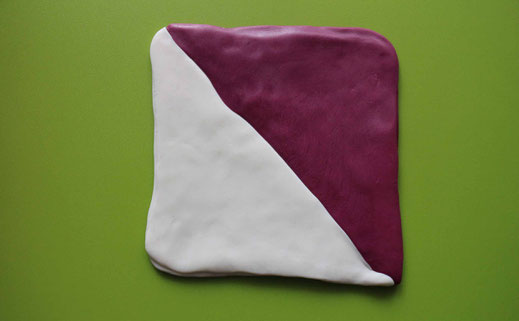
3. Mold the triangles with your fingers together so they again show the form of a rectangle.
4. Feed the rectangle again through your pasta machine on the highest setting.
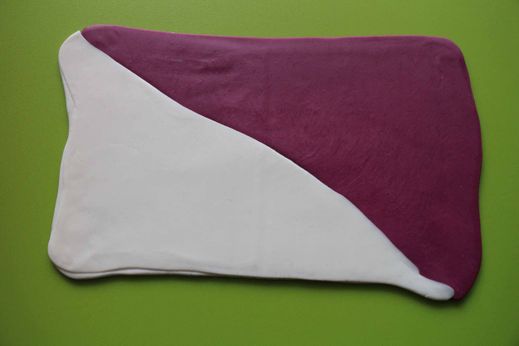
5. Fold it over and feed it again through the machine, making sure you never turn the sheet 90° around and always feed it the same way through.
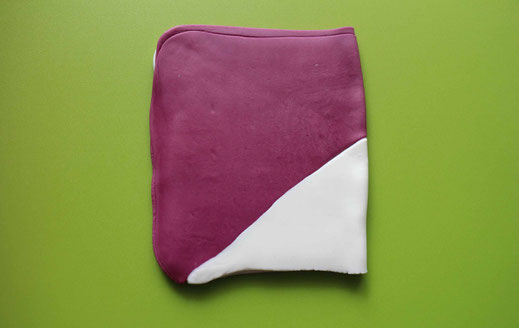
6. Repeat this step about 30 times till the sheet shows a color gradient. Fold it together again and turn it now around 90°. Now start feeding it again through your pasta machine with decreasing thickness settings, making sure to put your finger next to the fondant while you feed it in so it's not getting bigger in width just in length. Repeat this till you have a long thin sheet of fondant with color gradient.
7. Fold your fondant sheet up like an accordion and make sure to always push on your fondant so you don't get to many air bubbles in between. Now you should have a dark purple color on one side and a light purple on the other side.
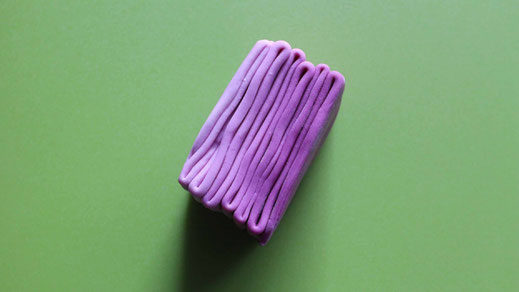
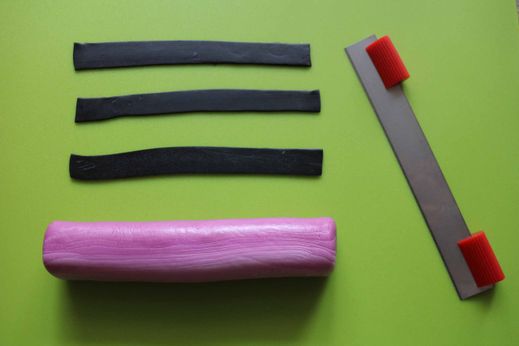
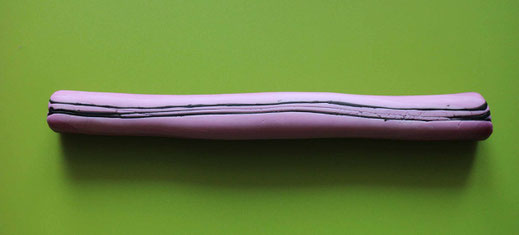
8. Use a rolling pin to to lengthen your fondant block on each side. After you got a well blended fondant block with color gradient you can roll it to a round shape log on your plate, which is the base for your flower petals.

9. As next steps you are going to roll out black fondant very thin and cut it into longish rectangular shapes which have the same length as your logs.
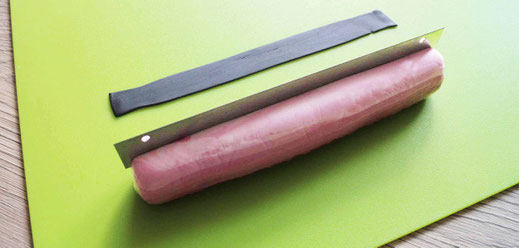
10. Use a cutting knife to cut 3 times into your log on the light purple side and insert the black fondant to get the veins of the flowers.
11. After this step is finished make sure to wrap the fondant logs again airtight. And prepare some yellow fondant logs which will be the pistil of the flower.
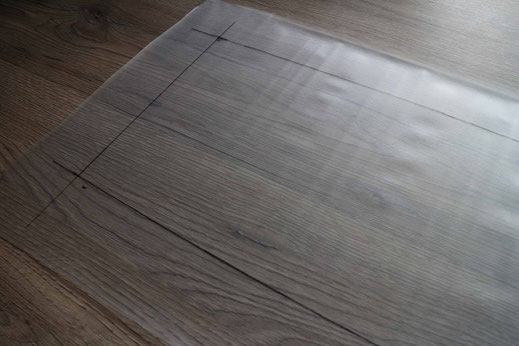
12. After all this is finished you can start with the preparation for the cake assembly. Measure the circumference of your cake and the height. Now prepare a piece of foil where you draw with a foil pen a rectangle with this dimensions on. Make sure to turn this around so the side which was drawn on is facing down on the table. Tape it to your table to make sure it's not moving around as long you are assembling the flower petals.
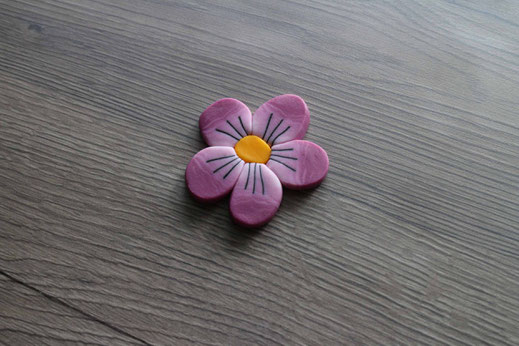
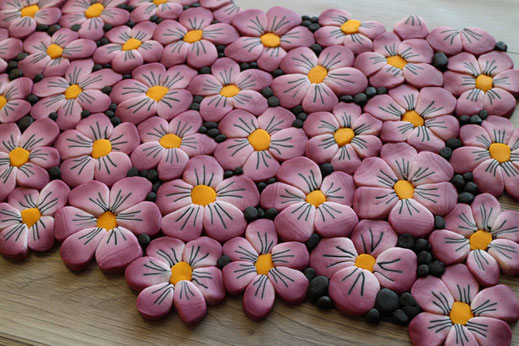
13. Now you can start to assemble the first flower. Cut about 3mm thick slices of your fondant logs and press them onto your foil sheet. Make sure you press them together carefully so they are not moving when you put the next petals on.
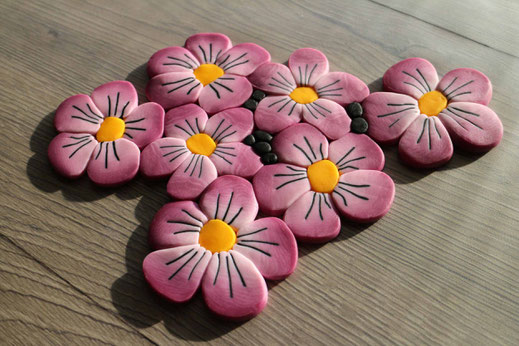
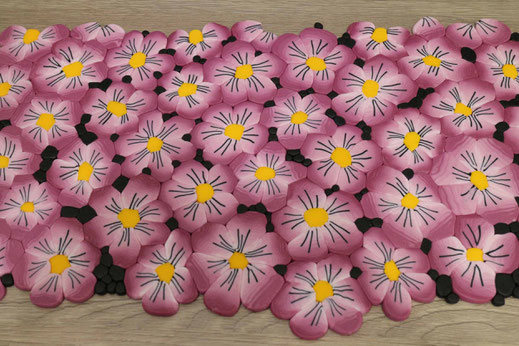
14. Repeat this till all the area in the rectangle is filled with flowers.

15. Make sure to add black balls of fondant to fill the wholes between the petals.
16. After the complete area is filled cut out another piece of foil and put it on top.
17. Now roll out the fondant again with your rolling pin to mold the flowers together. You can do this till the pattern is molding together completely to one sheet where you can't see any lines between the flowers, but I decided to stop earlier to not change the shape of the petals to much.
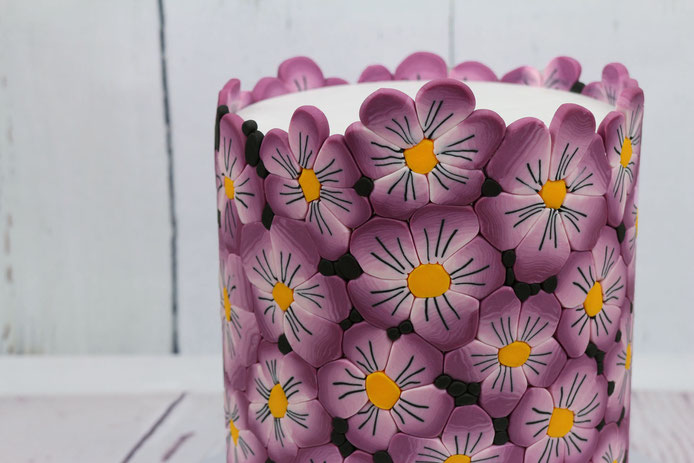
18. The last step before assembling the fondant to your cake is to trim the bottom side of the fondant along the line of the rectangle. I trimmed the sides on the cake later on to make sure it fits perfectly together and is not showing a little gap. The top side I did not trim, because I wanted to fondant flowers to stick out unevenly on the top but you can also cut it to get a sharps edge on the top.

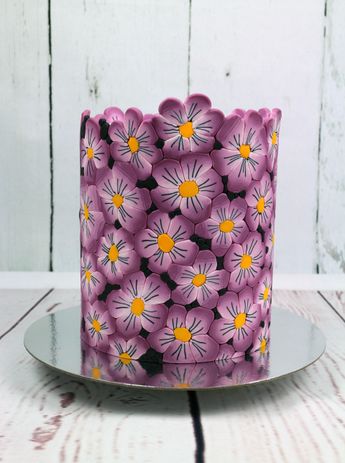
Now the last step is to transfer the fondant to your cake. You can decide which side you like more on the outside and brush some vegetable fat on the other side to stick later to the ganache. No you take the fondant with the sheet of foil and wrap it around your cake carefully. Push with your hands and maybe an fondant smoother* till it's sticking to your cake. When you wrapped it completely around you can pull off the foil and trim the seamline to fit perfectly together.
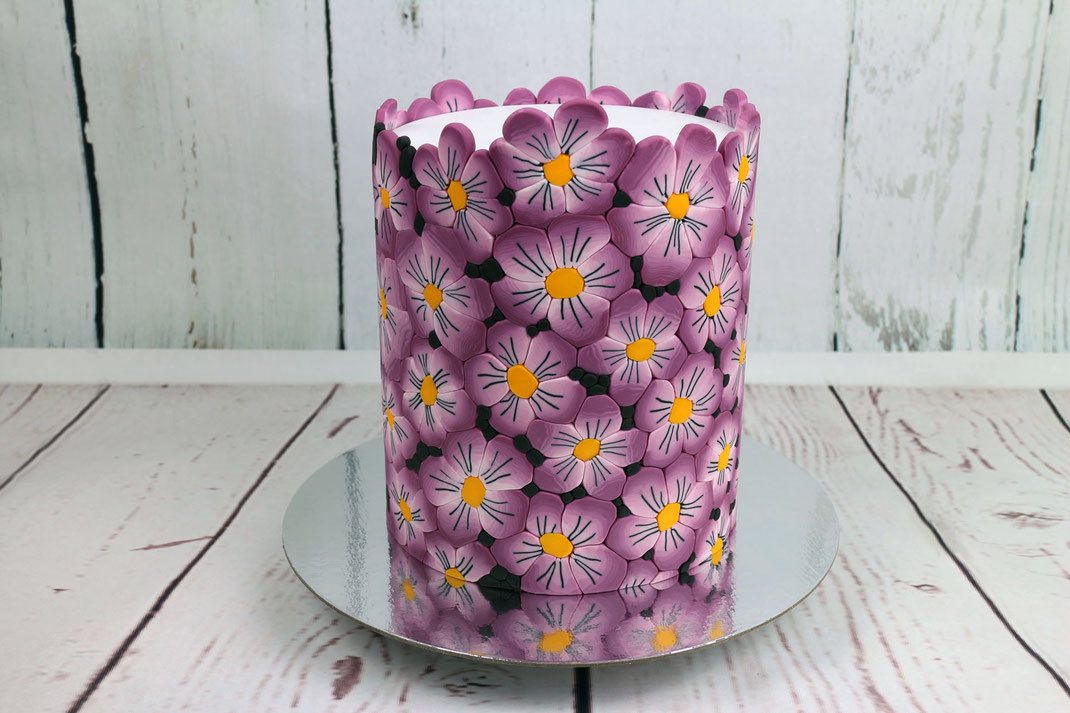
This is one of the most beautiful cakes I ever made!!! Try it out for yourself.
Affiliate links/advertising links/advertisements:
The links marked with an asterisk (*) are so-called affiliate links. If you click on such an affiliate link and purchase via this link, I will receive a commission from the respective online
shop. For you, the price does not change and I only recommend items that I have used myself and found to be good. As an Amazon Associate I earn from qualifying purchases.
Write a comment