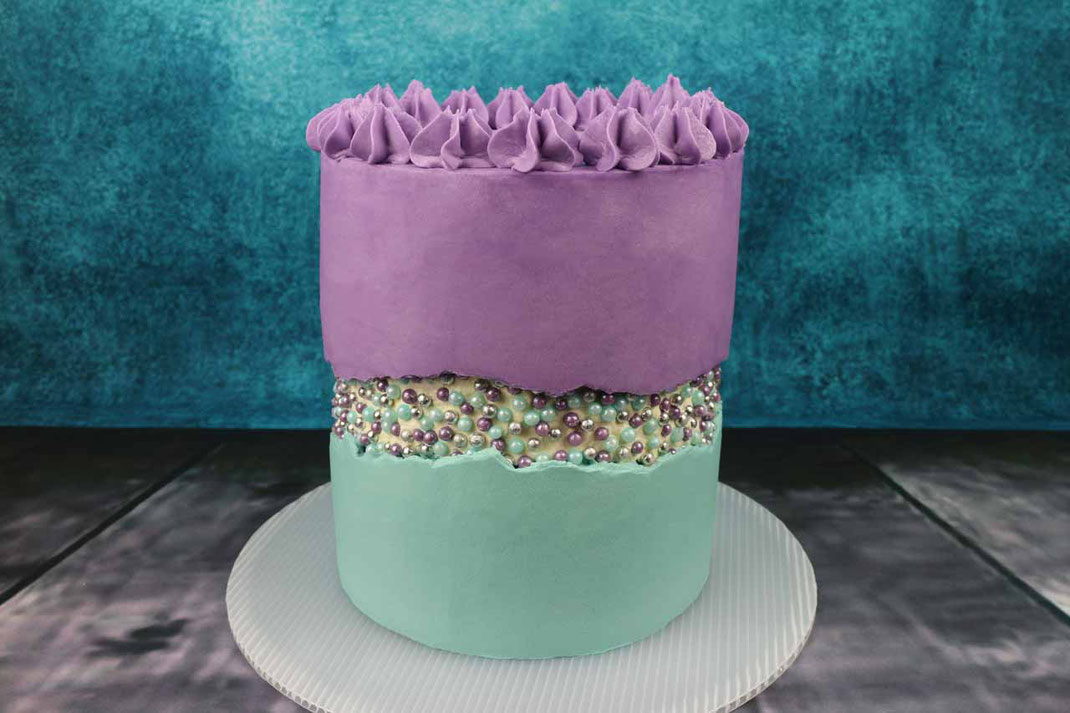
I'm so happy to show you today this step by step tutorial for a sprinkle fault line cake. This is the hottest, brand new cake trend. You for sure saw already one of this super smooth cakes with a crack of sprinkles, crystals or sugar pearls*. I'm so in love with this elegant cakes. If you think about how to get the buttercream totally smooth, have a look into the sharp edge tutorial.
You can us any kind of cake and filling for this technic. To cover the cake I used American buttercream out of 500g butter and 300g powder sugar. You can also use different kinds of frosting, but it should not melt the sprinkles, so whipped cream is not useful.
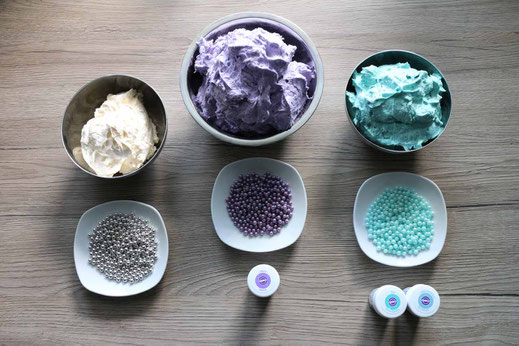
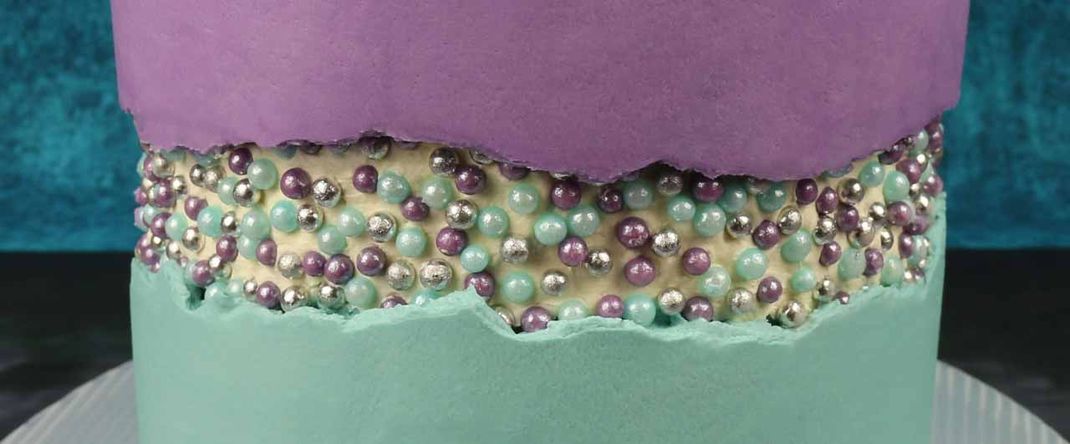
I have colored the buttercream in the same colors as the sugar pearls I choose (violet* and a combination of teal* and light blue*). Before I divided it in portions of about 50%, 40% and 10%. The 10% stay white or whatever background you want to have for the crack. The 50% will be the color on the top of the cake because you need more to have some left for decoration.
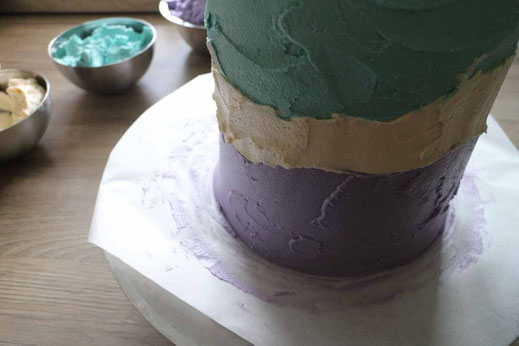
To cover the cake you will use a similar technic as the upside down method. The cake needs to be about 10mm smaller as the cake board* you will use, because you need to fit 2 layers of frosting. Put a sheet of parchment paper on a round cake disc* and cover it with some frosting of the biggest portion. This will be later on the top of your cake. Now you can stack the cake on top and cover it with all three colors. In the middle you put an irregular stripe of white which will be later the base for the crack. The easiest way is to pip it with a piping bag* and then just smoothen it a little.

The frosting does not yet need to be smooth as it anyway will be covered again with a second layer. Now cover the white area with sprinkles and cool the cake for some time.
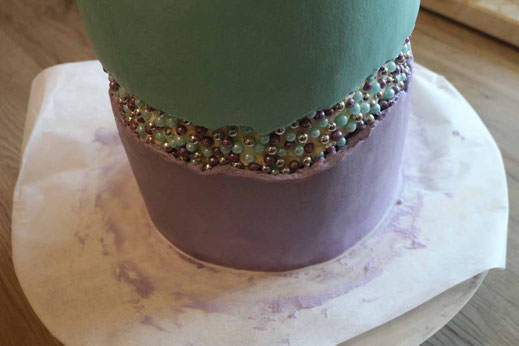
The next step is to make the final layer of frosting. Spread the frosting in the matching colors above and beyond the sprinkles so it sticks out wider then the cakeboard. Now you can use a cake scraper* to smoothen it and take the excess away, like in the sharp edge method. After the cake is cooled again, put a decorative cake board* on top and flip the cake. You should be now able to pull of the baking sheet easily and pipe some decoration on top of the cake with a piping bag* and in my case with a star tip*. Finished is you beautiful sprinkle fault line cake.

Affiliate links/advertising links/advertisements:
The links marked with an asterisk (*) are so-called affiliate links. If you click on such an affiliate link and purchase via this link, I will receive a commission from the respective online
shop. For you, the price does not change and I only recommend items that I have used myself and found to be good. As an Amazon Associate I earn from qualifying purchases.
Write a comment